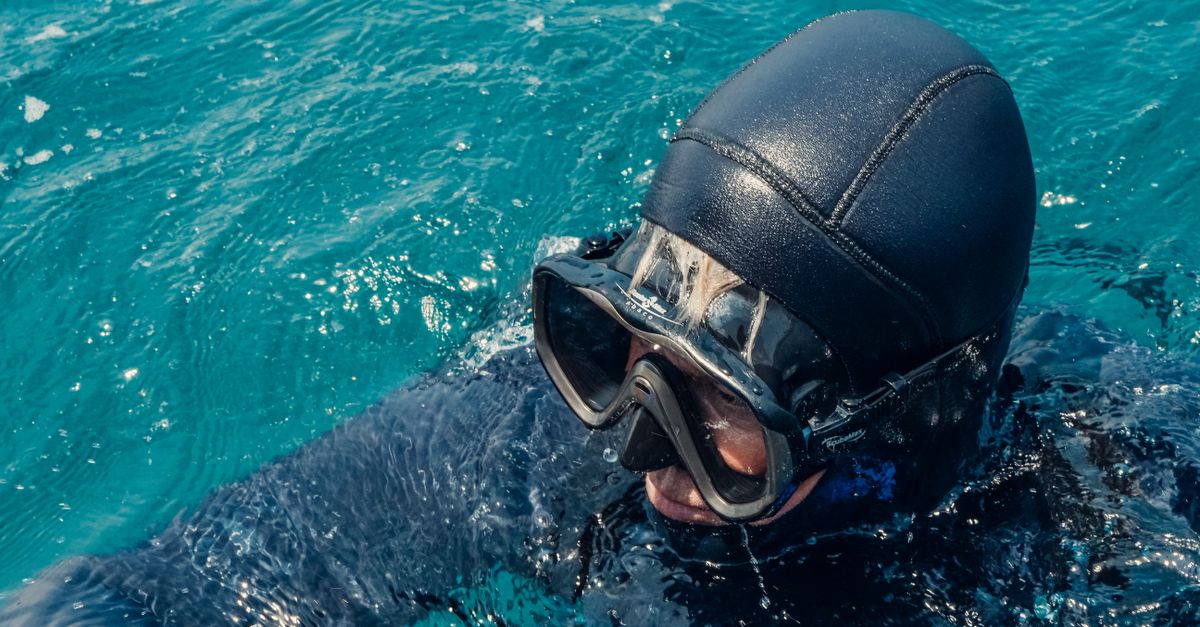
A save-a-dive kit is a compact collection of compatible spares and simple tools for minor problems discovered before a dive: a torn mask strap, a failed fin buckle, a missing tank-valve O-ring, a loose mouthpiece tie, or a dead user-replaceable battery. It should help with a small, familiar field fix. It should never turn a damaged regulator, BCD, computer, cylinder, or unfamiliar repair into a reason to dive anyway.
This is deliberately narrower than a full dive trip packing list. The main packing list answers, “Did I bring the equipment?” The save-a-dive list answers, “Which predictable, minor failure can I fix correctly with a part that fits my own gear?”
The 12-piece core kit
Start with the gear you own, not a giant generic shopping list. PADI’s save-a-dive guidance includes straps, O-rings, mouthpieces, fasteners, lubricant, batteries, and basic tools, while the Divers Alert Network travel guide makes the same point in a broader trip-planning context: the contents change with the diving and equipment. For most recreational trips, this compact core covers the common pre-dive annoyances without becoming a portable workshop.
- Mask spare: one strap that fits your mask, or a complete spare mask you have already adjusted.
- Fin spare: a compatible strap, buckle, pin, or spring-strap hardware for your exact fin model.
- O-rings: clearly separated sizes for the connections you recognize and are trained to handle, including tank-valve O-rings where appropriate.
- O-ring pick: a non-marring pick, kept with the correct manufacturer-approved lubricant.
- Mouthpiece: a familiar spare plus two suitable mouthpiece ties.
- Small fasteners: a few zip ties, short lengths of bungee or shock cord, and the clips your setup actually uses.
- Power: batteries only for devices with batteries the user is allowed to replace, stored in a way that prevents short circuits.
- Mask care: defog and the defog product you normally use for your mask.
- Exposure-suit care: zipper wax specified for the suit and a suitable small neoprene patch or adhesive when the cure time fits the trip.
- Basic tools: the minimum correct-size hex keys, screwdrivers, or wrenches for familiar accessories—not an excuse to open life-support equipment.
- Containment: a light-colored work mat or bag so a black O-ring or tiny pin does not disappear on a dark boat deck.
- Inventory card: the part number, equipment model, quantity, and restock date for each model-specific spare.
The list is intentionally boring. A spare that fits is more valuable than three mystery O-rings, and an ordinary buckle you tested at home is more useful than a “universal” part you first open on the boat.
Match every spare to gear you actually own
Lay out your assembled mask, fins, regulator, BCD, computer, lights, and exposure suit beside the kit. Match the spare to the component and record its model or part number. If two O-rings look almost identical, keep them in separate labeled packets. If your fin buckle uses a left and right part, pack the correct side or a pair. If a battery compartment needs a particular seal, tool, or replacement procedure, follow the manufacturer’s instructions rather than assuming the battery alone is enough.
Then perform a dry run. Replace the mask strap at home. Confirm the fin buckle locks. Check that the mouthpiece and ties are the right size without dismantling a regulator immediately before travel. Make sure the tool reaches the fastener without stripping it. The point is not to practise improvisation; it is to remove uncertainty while you still have a dive shop and time.
Rental divers need a different approach. Ask the operator what minor spares are carried on the boat and what personal items are still sensible to bring. A spare mask that fits your face, prescription lenses, and batteries for your own light or computer may matter more than hardware for rental equipment you are not authorized to repair. Add that question to the broader operator conversation before booking.
Field fix or technician job?
A save-a-dive kit has a hard boundary: use it only for a repair you understand, with a compatible part, followed by a complete function check. DAN’s gear guidance distinguishes equipment a diver can inspect from equipment that needs qualified service. It specifically advises testing regulators when the gear is assembled and using professional servicing; SCUBAPRO likewise directs regulator overhauls to authorized technicians.
A torn removable mask strap, a known fin buckle, or a tank-valve O-ring handled within your training may be a straightforward fix. A continuing leak, a damaged hose, an abnormal regulator breath, a BCD that will not hold or dump gas correctly, a cracked fitting, a flooded computer, or any repair you cannot test properly is different. Tag the equipment, tell the operator, and use a verified replacement or sit out the dive. A kit can save a dive only when the equipment is restored to a condition you can confidently inspect and test.
Do not let schedule pressure rewrite that rule. The boat leaving in ten minutes, the price of the trip, or the fact that a spare seems close enough does not make an uncertain repair acceptable.
The Save-a-Dive Kit Card
Keep this one-page decision card inside the kit. Fill it with your actual part numbers before the trip.
| Problem found before the dive | Compatible spare or tool | Function check after the fix | Stop and hand over when |
|---|---|---|---|
| Mask strap torn | Tested strap or adjusted spare mask | Strap holds; mask seals comfortably | Frame, skirt, buckle mount, or prescription setup is damaged |
| Fin strap or buckle failed | Model-matched strap, buckle, or pin | Both sides lock and release correctly | Fin body or attachment point is cracked |
| Tank-valve O-ring leaking | Correct O-ring and non-marring pick, within training | Connection is dry and stable after pressurizing | Leak continues or the valve, yoke, DIN threads, or regulator connection appears damaged |
| Mouthpiece loose or torn | Correct mouthpiece and suitable ties | Secure fit; regulator passes the normal pre-dive breathing check | Second stage, exhaust valve, housing, or breathing performance is abnormal |
| User-replaceable battery low | Specified battery and required seal | Device starts, seal is clean, and self-check passes | Compartment flooded, seal damaged, or manufacturer requires service |
A boat-day example: one leaking O-ring
On the first setup of the morning, Elena hears a faint leak at the cylinder valve. She closes the valve, depressurizes the system, and shows the connection to the divemaster. The divemaster confirms that the worn tank-valve O-ring is the problem and that replacing it is within Elena’s training. Elena uses the labeled valve O-ring from her kit, then reconnects and pressurizes the regulator while the divemaster watches.
The bubbles stop. Elena completes the normal pre-dive breathing, pressure, and buddy checks, writes “replace one valve O-ring” on her inventory card, and dives only after the operator accepts the setup. If the connection had continued to leak—or if the valve, threads, yoke, DIN fitting, or regulator had shown damage—the better decision would have been a verified replacement cylinder or regulator, not a second improvised repair. That is the card in use: known problem, compatible spare, successful function check, clear stop condition.
A ten-minute restock routine
Open the kit after every trip, not while packing for the next one. Remove corroded tools and leaking batteries. Replace used O-rings, ties, adhesives, and first-line spares. Check adhesive and battery dates. Confirm that new equipment has not made an old spare obsolete. Wipe salt from the container and let everything dry before closing it.
Once or twice a season, take the kit to the dive shop with your gear list. Ask whether service bulletins, model changes, or a more suitable spare affect your setup. DAN recommends inspecting gear before a trip and following professional service intervals; a repair kit works best when it supports maintenance rather than compensating for skipped maintenance.
Flying with tools, blades, liquids, and batteries
Split the kit before a flight. TSA says sharp objects such as pocket, utility, and Swiss Army knives are not allowed in carry-on bags and should be securely wrapped in checked baggage. Liquids, gels, creams, and pastes in carry-on baggage are generally subject to the 3-1-1 limits. Battery rules depend on battery type, installation, quantity, airline, and country, so check the current airline and departure, transit, and arrival rules rather than copying last trip’s arrangement.
Keep delicate, hard-to-replace, and permitted items organized in carry-on luggage, but do not assume a multi-tool or cutting tool will pass screening because it is sold for diving. Review the current TSA “What Can I Bring?” list and your airline’s dangerous-goods page shortly before departure. For a broader division between checked and carry-on dive gear, use the carry-on dive gear checklist.
Build the kit around the next trip
For a local shore dive, a small dry box shared with a buddy may be enough. A liveaboard or remote trip deserves more redundancy because a matching shop part may be days away. Underwater photographers will need housing O-rings and manufacturer-specified care items; drysuit divers may need suit-specific seals or repair materials; divers using prescription masks should consider a complete spare mask.
Write down three things before closing the bag: the minor failure the kit can solve, the test that proves the fix worked, and the condition that cancels the repair. That turns a box of parts into a usable plan—and keeps “save the dive” from becoming “force the dive.”